Hellooooooo!
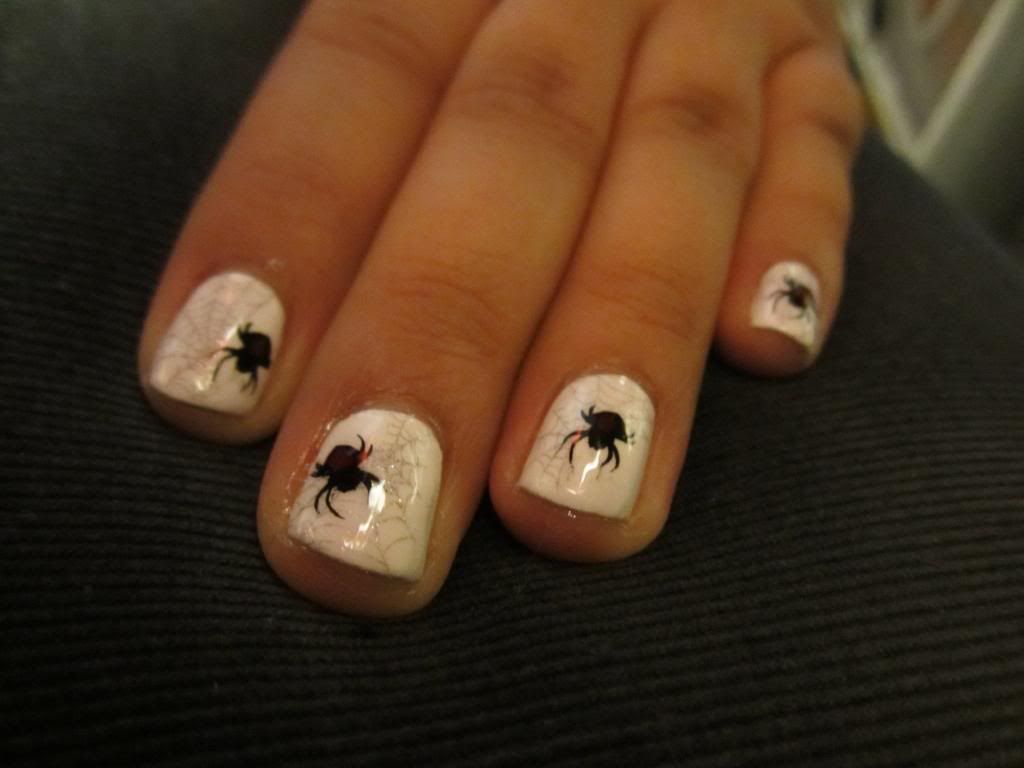
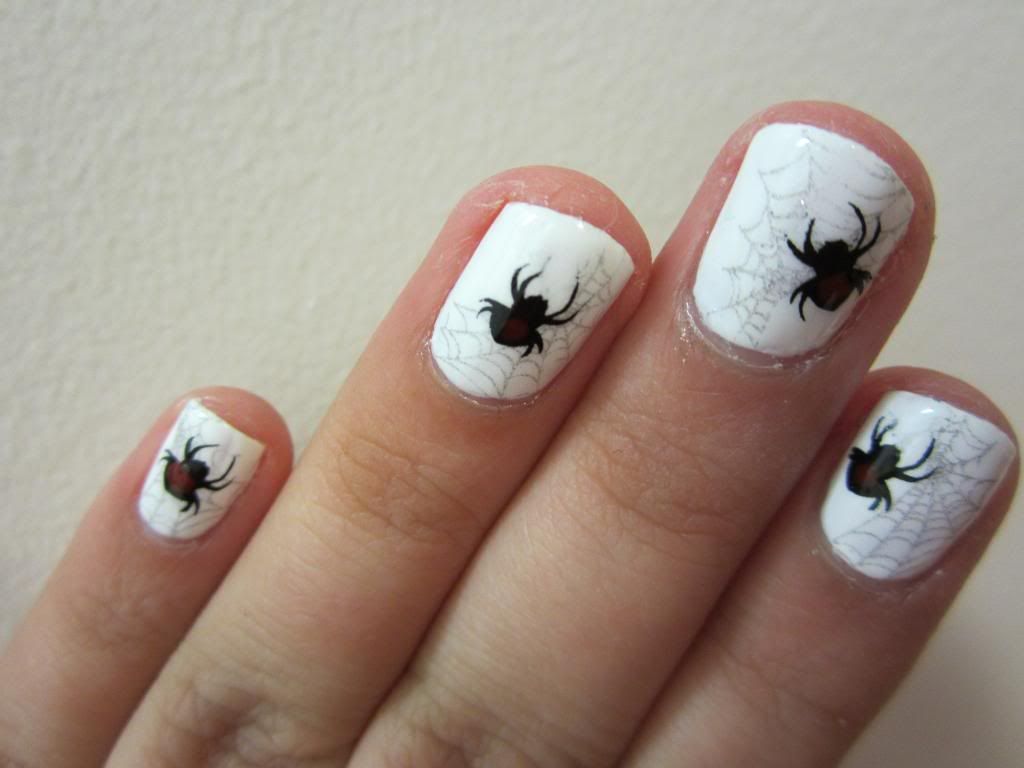
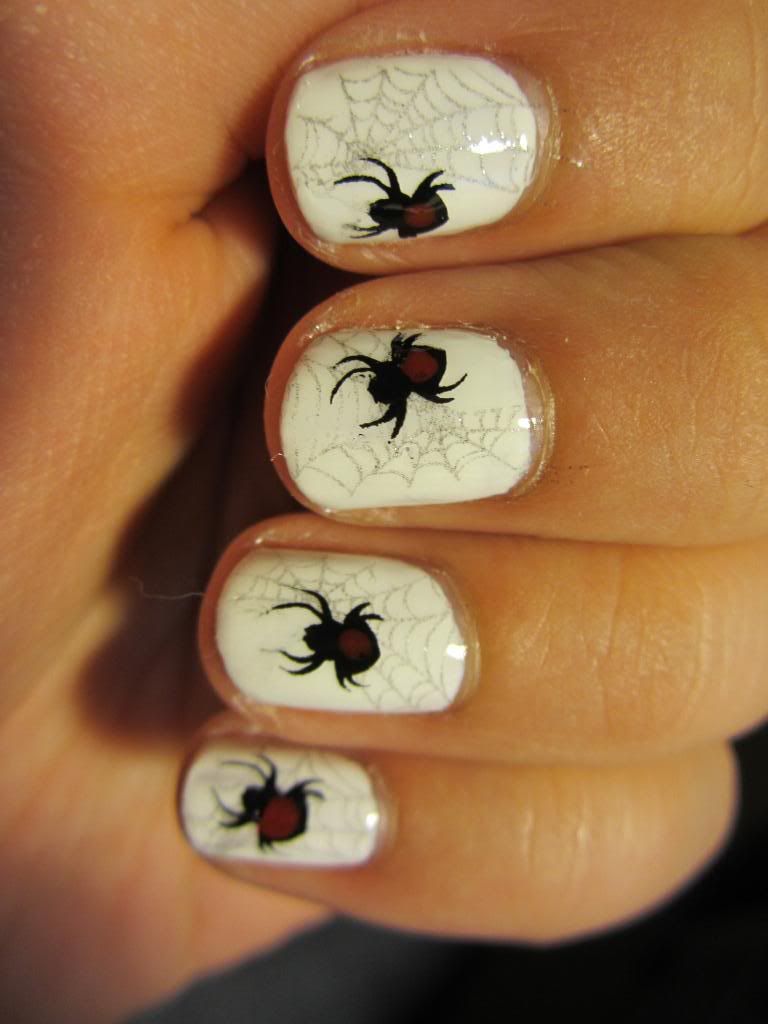
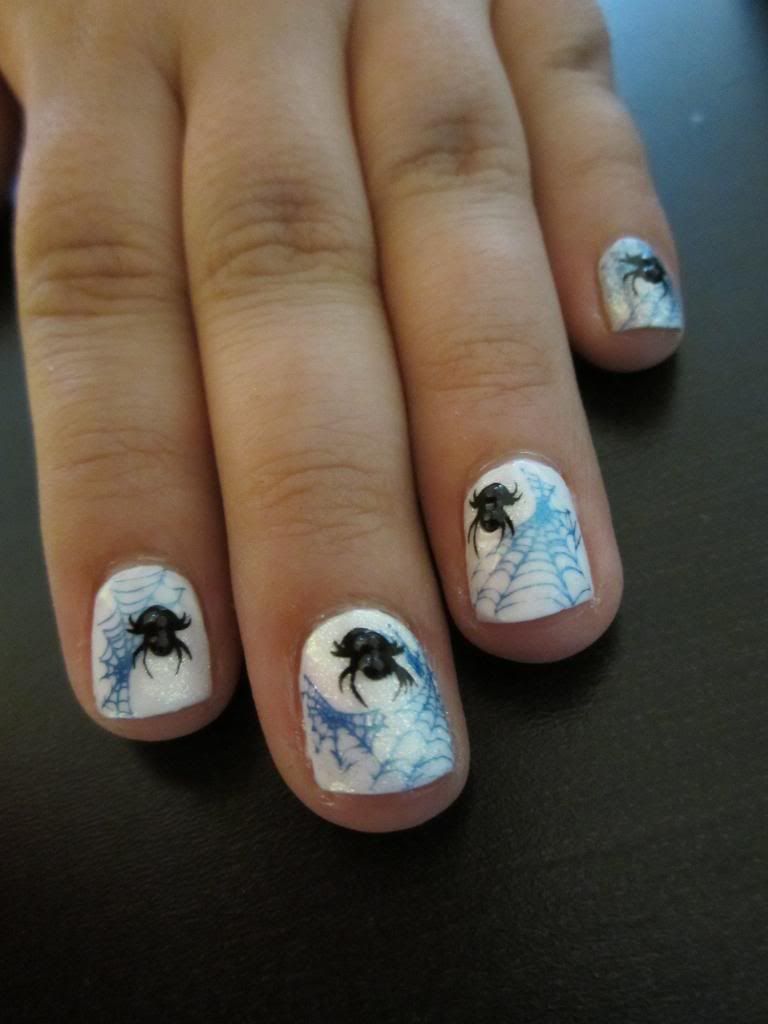
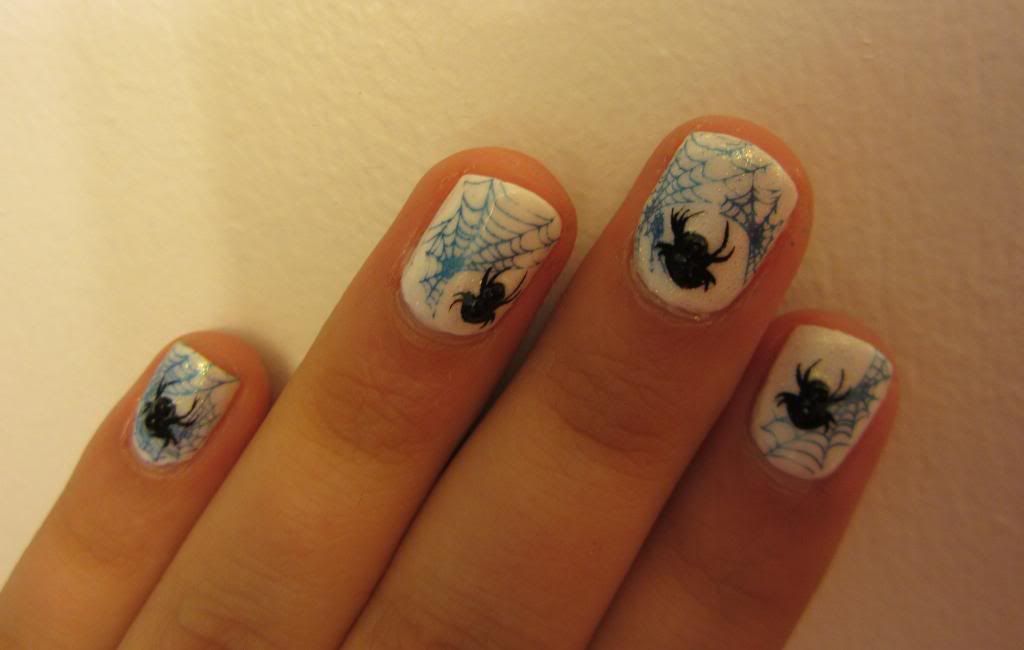
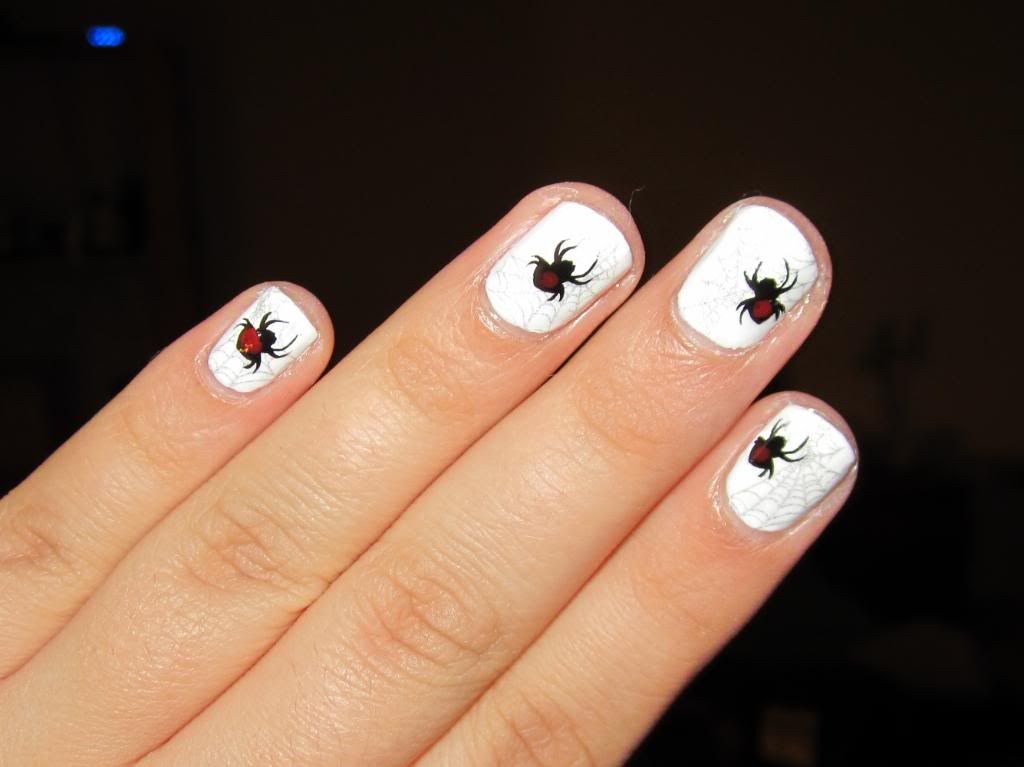
This is the first of my Halloween-themed nails, and I absolutely love it. It's really pretty and wearable, and I got lots of compliments on it. So here it is, it's China Glaze Snow as a white base, stamped with OPI's Lucerne-tainly Look Marvellous and BM13 spider web, and stamped with Konad black with the BM13 spider, and a red dot on its back. I would also recommend trying this with a glow in the dark coat over the white and a black spider and spider web. That way in the dark both will show up.
Now this one was a nightmare to capture. It was so hard to get the silver to show up on camera and the red to show up at the same time. In real life the spider webs are easy to see, a super glittery sparkly charcoal spider web, and the red on the spiders is easy to see too.
And AAARRGG every time I photograph my nails there's one flippin hair coming off my nails that I never see until it's too late, so I apologize for that annoying hair.
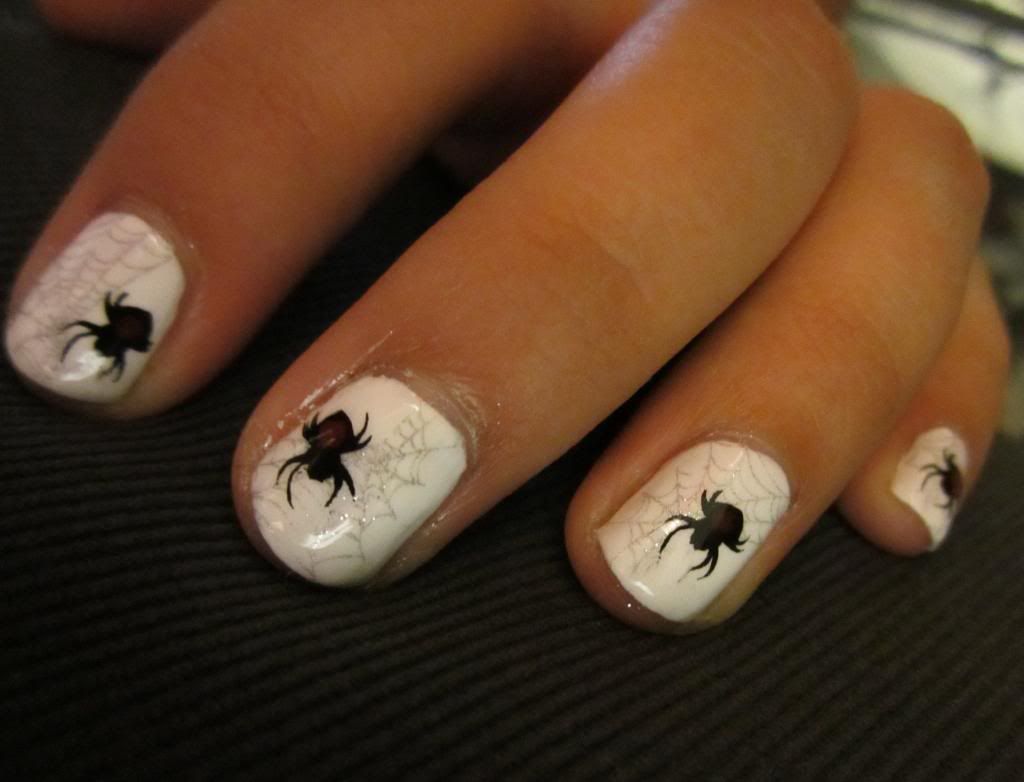
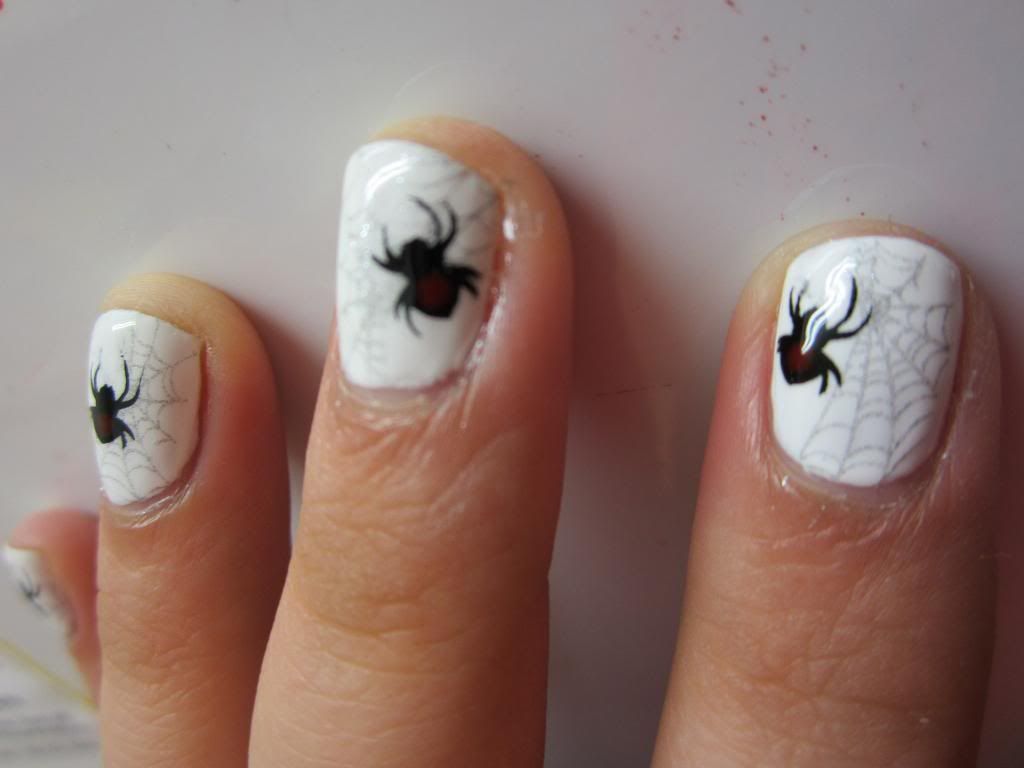
From the flash you can see the red on the spiders better. In real life it looks like above but with the red showing like below.
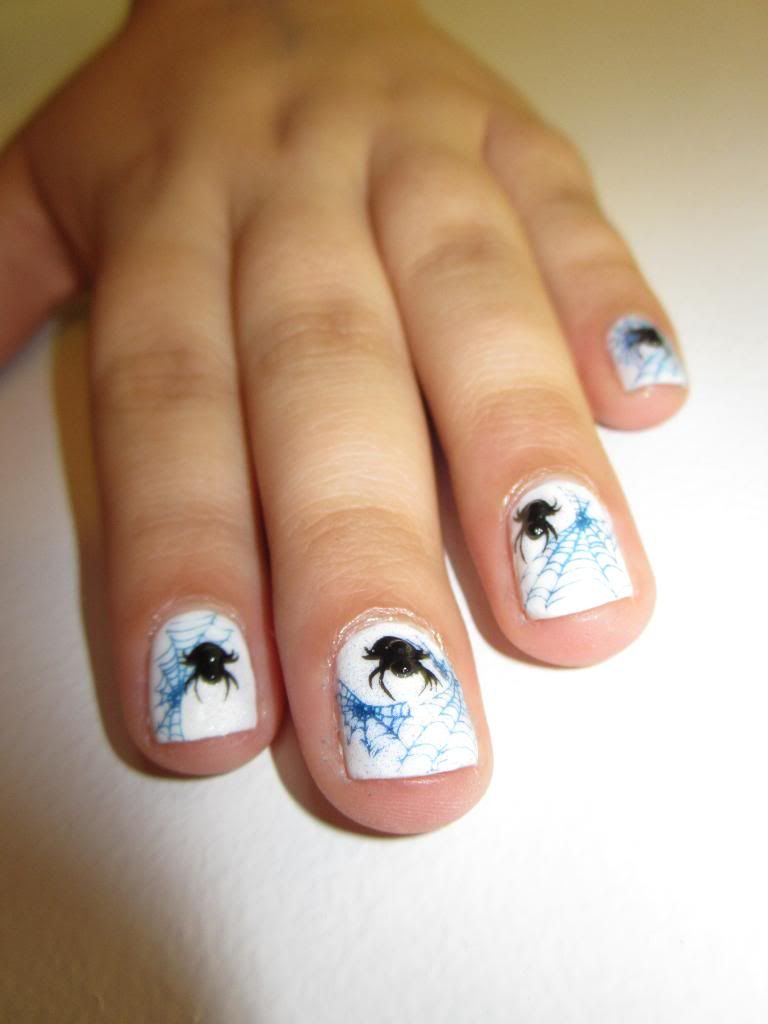
I also did this look with China Glaze Snow as a white base, China Glaze White Cap over it, Sally Hansen Chrome Blue for the BM13 spider web, and a Konad Black spider with 2 black rhinestones to make the spider 3D. This one was my original idea but it turned out a bit sloppy. I think it would be a good look if I had been a bit more patient.
There ya go! Stay tuned for more in the series!
Thursday, 6 October 2011
Tuesday, 4 October 2011
Hearts with Scrapbook Transfers
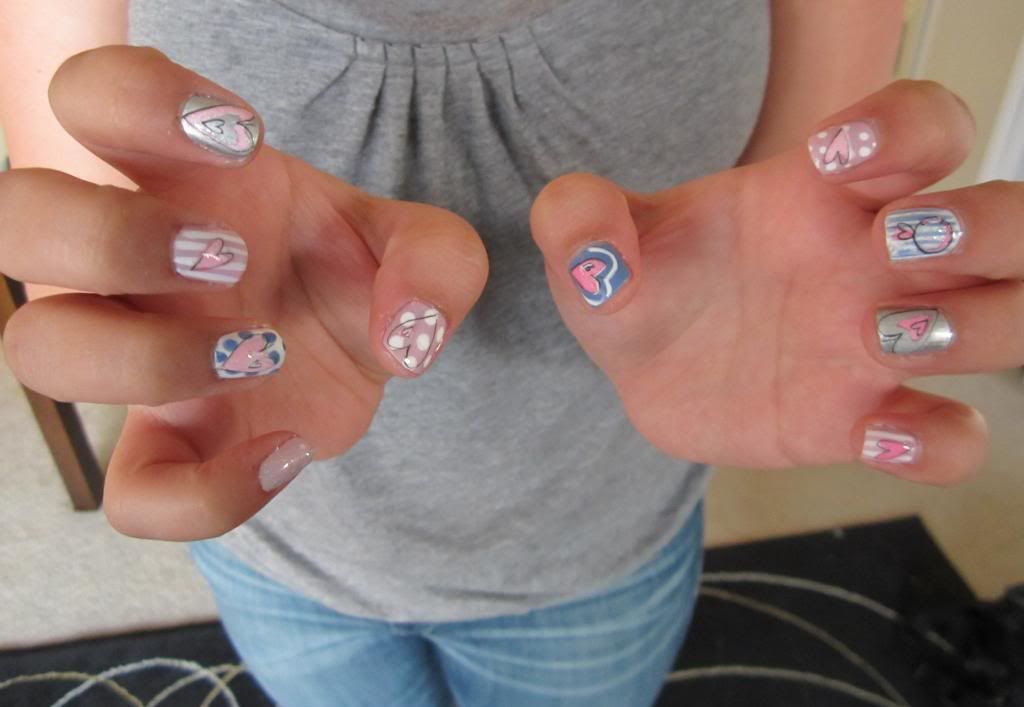
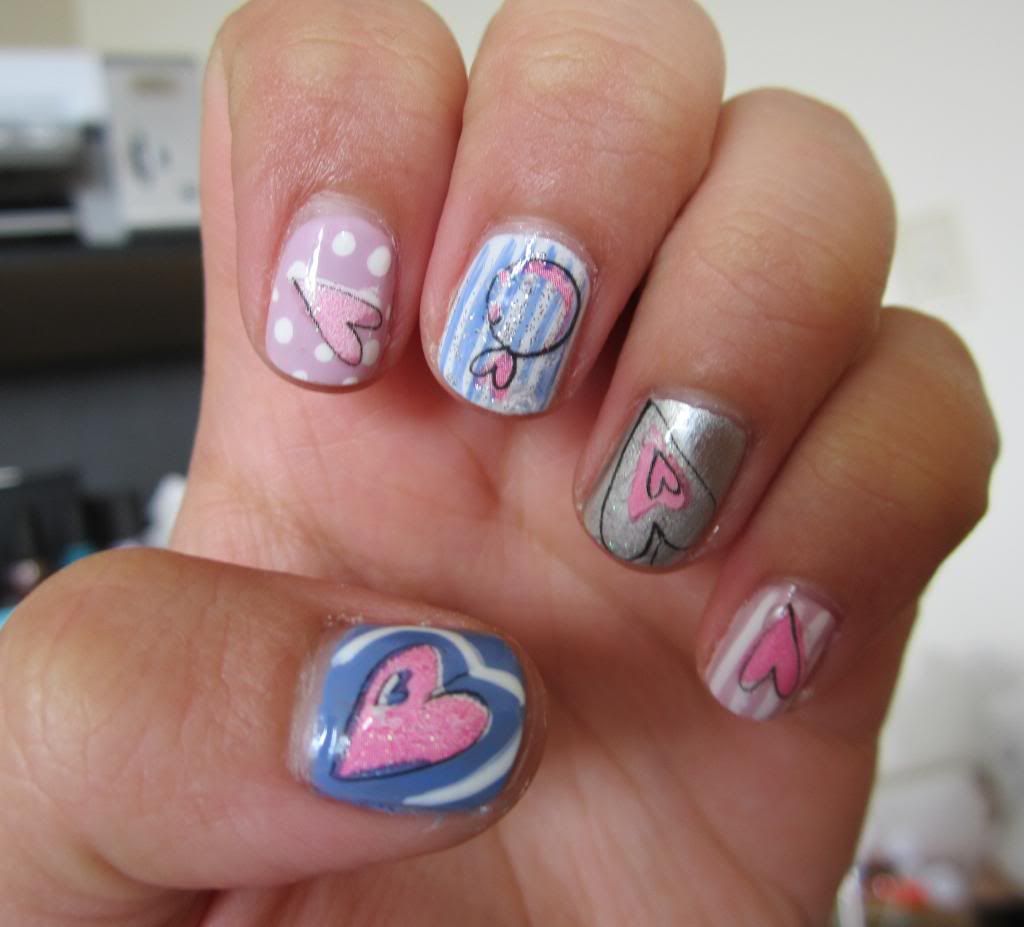
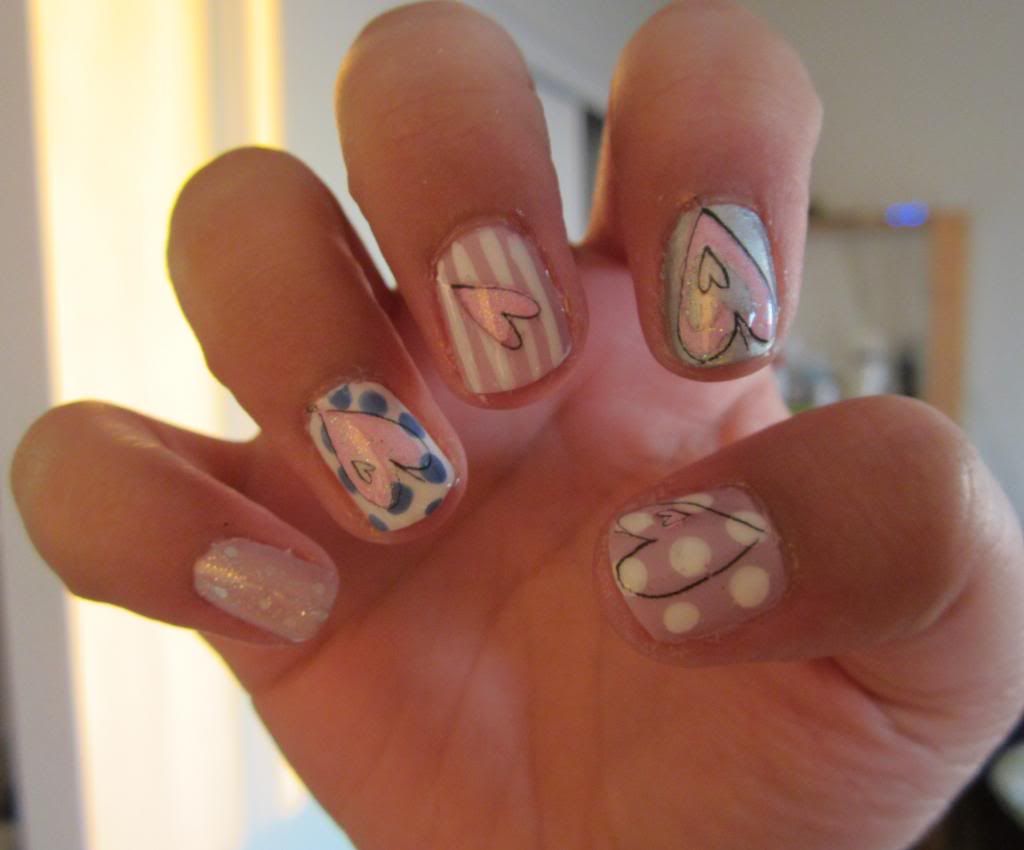
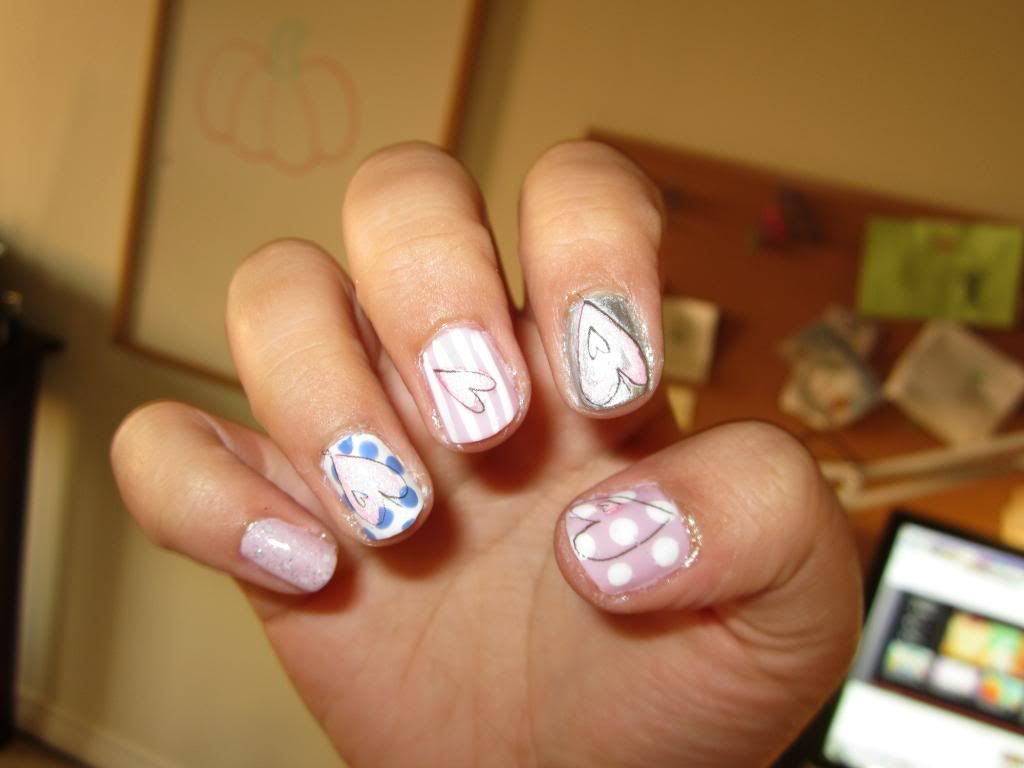
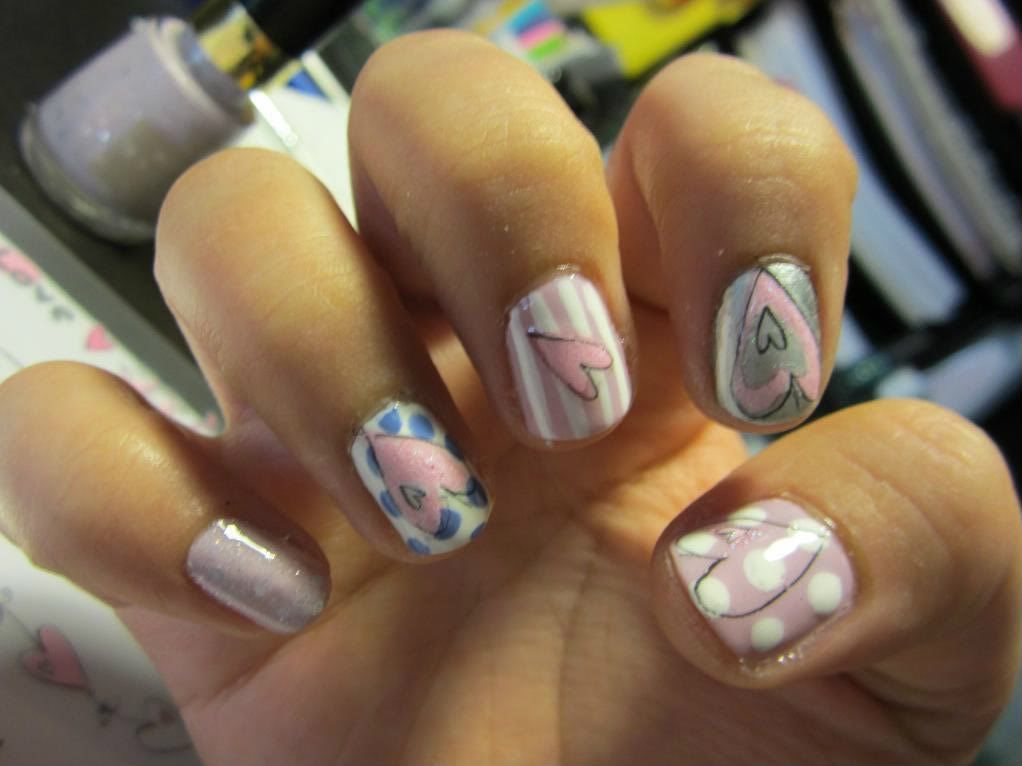
So this is the look I came up with for the scrapbook transfers. I actually have kind of a funny story - I saw this post by geezleweez where she talks about using scrapbook transfers on the nail, and I was like that is such a good idea, I should see what kind of scrapbook transfers I can find around here and see what I can do with them. So I went to Dollarama and I found these transfers, and was so excited and did this nail look with them which I absolutely loved and got so many compliments on. Then I remembered where I got the idea from and went back to her post, and it turns out I picked up the EXACT same decals as her just totally by accident!
Anyhow, if you can get your hands on any scrapbook transfers, let me tell you, they work wonderfully and look so great! This is definitely my new favorite way to do nails. Transfers are like clear backed very thin stickers. I haven't looked in Michael's yet but I'd imagine they have some great transfers.
One tip however, definitely make sure your nails are very very dry before you attempt to put a transfer on. Because you have to press fairly hard and sort of roll them onto your round nail, it will definitely smudge anything that is not completely dry.
Sorry for the slightly bad cleanup and dry fingers, I was just so excited to share this with the world that I wasn't being that vigilant ahah!
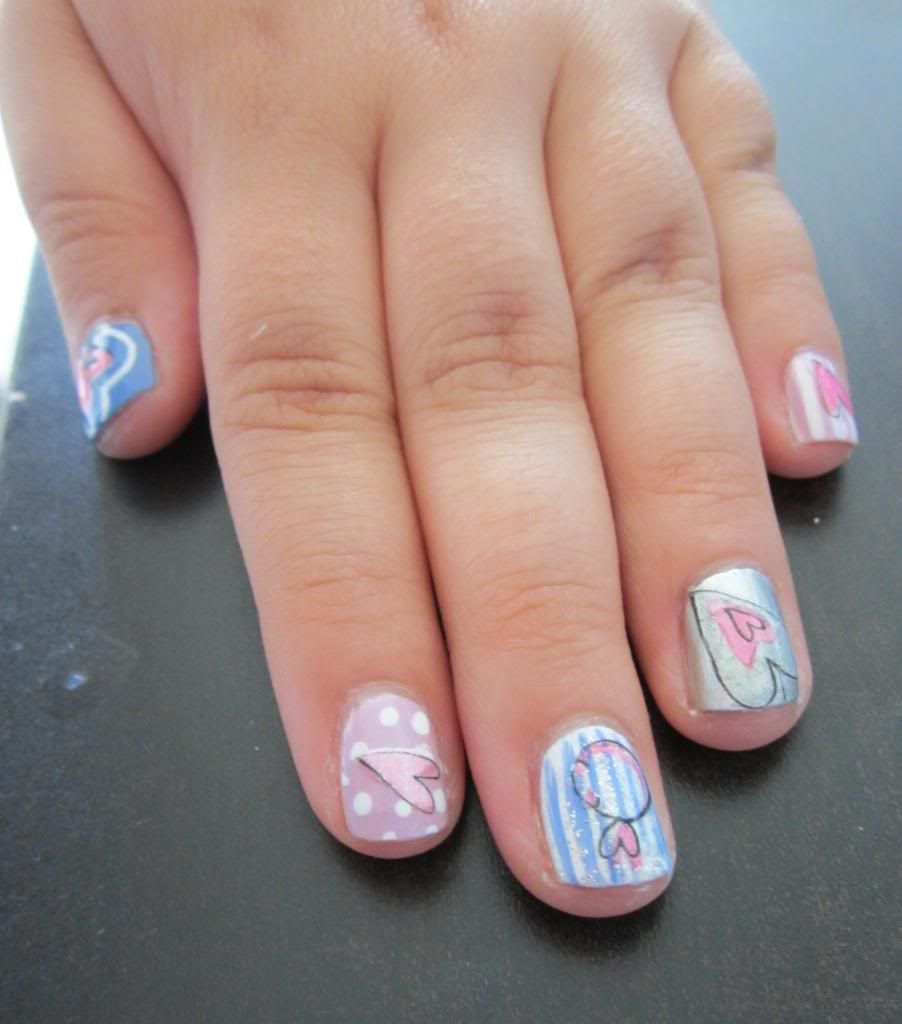
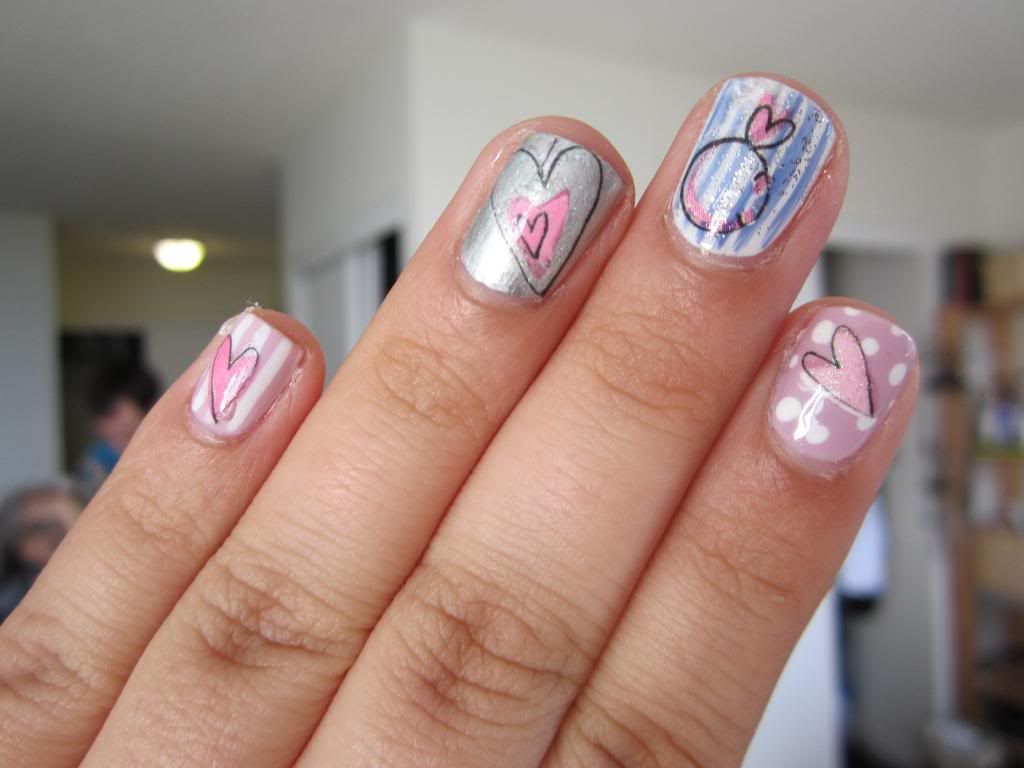
My favorite hand is the right hand. I didn't like the blue thumb in combination with the rest, I would have put the Starry Pink on the thumb instead. I loved the thumb, and I think that would make a good manicure on its own, but not so much with the others.
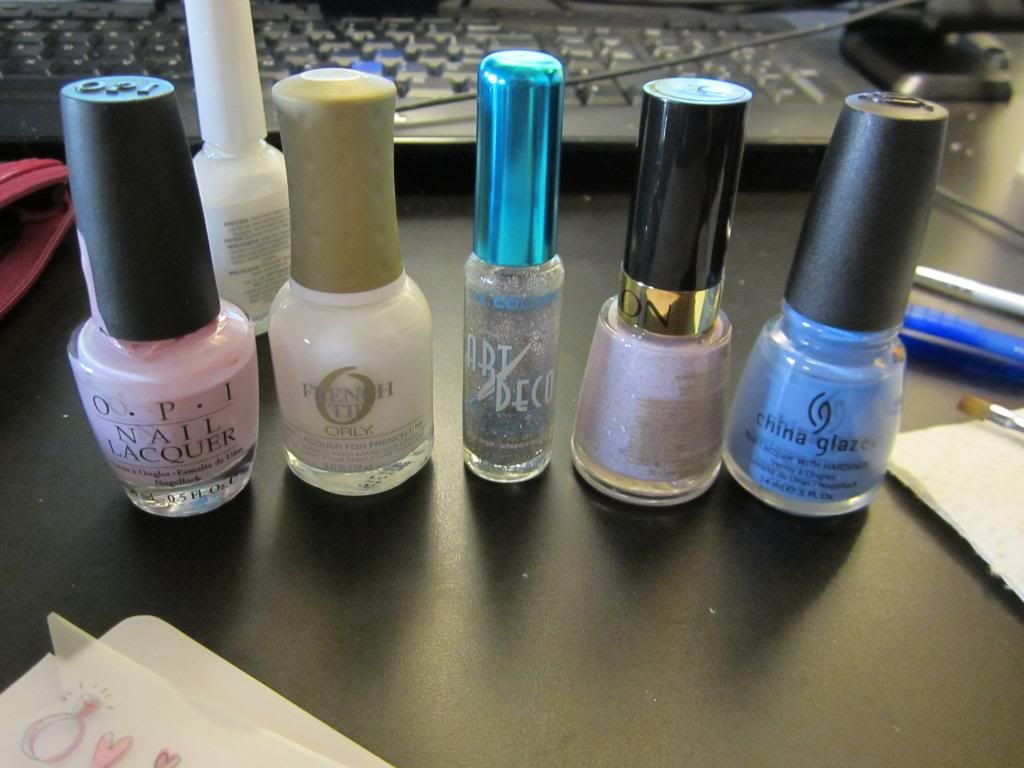
These are the colors I used, but I forgot the silver in the picture. The silver was Sally Hansen Insta-Dry Silver Sweep, then OPI Panda-monium Pink, Orly French Tip, Art Deco silver glitter striper, Revlon Starry Pink, and China Glaze Peri-Wink-Le. The transfers can be seen in my Dollarama post before this one.
Left hand up close:
You can see I smudged my middle finger, I definitely jumped the gun several times and smudged.
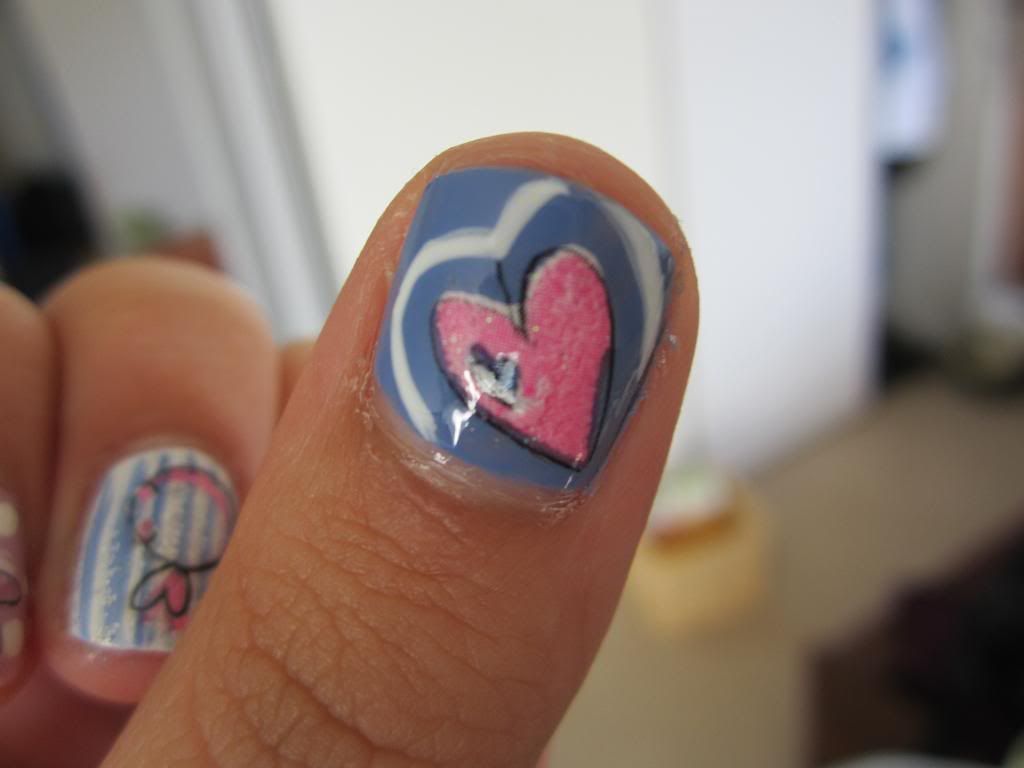
This is a close up of the thumb, which I really loved:
Right hand up close:
Anyhow, if you can get your hands on any scrapbook transfers, let me tell you, they work wonderfully and look so great! This is definitely my new favorite way to do nails. Transfers are like clear backed very thin stickers. I haven't looked in Michael's yet but I'd imagine they have some great transfers.
One tip however, definitely make sure your nails are very very dry before you attempt to put a transfer on. Because you have to press fairly hard and sort of roll them onto your round nail, it will definitely smudge anything that is not completely dry.
Sorry for the slightly bad cleanup and dry fingers, I was just so excited to share this with the world that I wasn't being that vigilant ahah!
My favorite hand is the right hand. I didn't like the blue thumb in combination with the rest, I would have put the Starry Pink on the thumb instead. I loved the thumb, and I think that would make a good manicure on its own, but not so much with the others.
These are the colors I used, but I forgot the silver in the picture. The silver was Sally Hansen Insta-Dry Silver Sweep, then OPI Panda-monium Pink, Orly French Tip, Art Deco silver glitter striper, Revlon Starry Pink, and China Glaze Peri-Wink-Le. The transfers can be seen in my Dollarama post before this one.
Left hand up close:
You can see I smudged my middle finger, I definitely jumped the gun several times and smudged.
This is a close up of the thumb, which I really loved:
Right hand up close:
It was really hard to get the colors right in photographing it, but it was so pretty. Definitely try it out if you can, these colors together are great.
Sunday, 2 October 2011
Dollarama Haul and Stamping Plate Storage
Hello all!
I recently went to Dollarama to look in the scrapbooking section to look for some scrap book transfers - really thin sticker kind of things. I got the idea from geezleweez and I wanted to see what I could find for cheap and see whether it actually worked. Let me just say, it works WONDERFULLY and is probably my new nail obsession, but more on that in the next post. As I was in Dollarama I found so many fantastic nail items around every corner that I knew I had to blog about it!
So as I was looking for the scrapbook transfers in the craft isle, I found feathers, glitter, tiny beads, sheets of stick on diamonds, sponges, and a photo album, all for a dollar each! All things that are great to use on nails and I couldn't find anywhere else. Then I turned into the beauty isle and found nail decals and nail diamonds!
(I was looking for huge diamonds for a specific look I'm going to do)
So the moral of this story is if you're looking for some nail tools, definitely try Dollarama! It has so much useful stuff for only a dollar. I'm so happy to finally have sponges and nail beads without breaking the bank or waiting weeks!
Now I wanted to modify the photo album to hold image plates effectively, and I also wanted to make a pretty cover. This is what it looked like before:
See it opens to the side? This is really annoying for image plates because you have to tap the book to get the plate to wiggle all the way to the inside before you can get it. I saw Rebecca's tutorial a while ago and she closed the sides and opened the tops of the sleeves, and I decided to do something similar.
First things first, slide a piece of cardboard into the top of the photo sleeves. I didn't do this at first, figuring I didn't need to. Let me tell you, this was a mistake ahah! You will not be able to just get through the clear layer.
So the process is cut a line at the top of each sleeve, take out the cardboard, tape up the sides. Then I put 2 plates in each sleeve, 4 on each page. They do slide on top of each other sometimes, but it's so much faster to see them all this way, as opposed to 2 on each page, I just didn't like the look of it.
Then I took regular printer paper, took out the cardboard front and back and traced white pieces from it. I traced my logo on one, and colored it in, and put that and another white sheet on the 2 sides of the cardboard and slid it back into the front.
On the back I wanted some pink, so I traced a pink square and used the leftover pink and leftover white to make the back pages. I used Rebecca's tip and put my Konad sleeves in the back too.
And that's my prettied-up plate storage!
Thanks for reading! And stay tuned for some DYNAMITE posts coming up, I've been doing so much work for the blog, the only problem now is getting the time to write up the posts!
I recently went to Dollarama to look in the scrapbooking section to look for some scrap book transfers - really thin sticker kind of things. I got the idea from geezleweez and I wanted to see what I could find for cheap and see whether it actually worked. Let me just say, it works WONDERFULLY and is probably my new nail obsession, but more on that in the next post. As I was in Dollarama I found so many fantastic nail items around every corner that I knew I had to blog about it!
So as I was looking for the scrapbook transfers in the craft isle, I found feathers, glitter, tiny beads, sheets of stick on diamonds, sponges, and a photo album, all for a dollar each! All things that are great to use on nails and I couldn't find anywhere else. Then I turned into the beauty isle and found nail decals and nail diamonds!
(I was looking for huge diamonds for a specific look I'm going to do)
So the moral of this story is if you're looking for some nail tools, definitely try Dollarama! It has so much useful stuff for only a dollar. I'm so happy to finally have sponges and nail beads without breaking the bank or waiting weeks!
Now I wanted to modify the photo album to hold image plates effectively, and I also wanted to make a pretty cover. This is what it looked like before:
See it opens to the side? This is really annoying for image plates because you have to tap the book to get the plate to wiggle all the way to the inside before you can get it. I saw Rebecca's tutorial a while ago and she closed the sides and opened the tops of the sleeves, and I decided to do something similar.
First things first, slide a piece of cardboard into the top of the photo sleeves. I didn't do this at first, figuring I didn't need to. Let me tell you, this was a mistake ahah! You will not be able to just get through the clear layer.
So the process is cut a line at the top of each sleeve, take out the cardboard, tape up the sides. Then I put 2 plates in each sleeve, 4 on each page. They do slide on top of each other sometimes, but it's so much faster to see them all this way, as opposed to 2 on each page, I just didn't like the look of it.
Then I took regular printer paper, took out the cardboard front and back and traced white pieces from it. I traced my logo on one, and colored it in, and put that and another white sheet on the 2 sides of the cardboard and slid it back into the front.
On the back I wanted some pink, so I traced a pink square and used the leftover pink and leftover white to make the back pages. I used Rebecca's tip and put my Konad sleeves in the back too.
And that's my prettied-up plate storage!
Thanks for reading! And stay tuned for some DYNAMITE posts coming up, I've been doing so much work for the blog, the only problem now is getting the time to write up the posts!
Friday, 23 September 2011
Wet 'n Wild Correction Tape
Happy Friday everyone! This is a multi colored equal sized glitter from the On the Prowl halloween collection from Wet 'n Wild.
Now there was some confusion over the name of this, but I have an inkling of what happened. The initial promo pictures had a white polish that weren't in the actual displays, and I have a feeling that Correction Tape was actually initially a white nail polish, and something happened with the naming or the polish. Because a multi-colored glitter has nothing to do with correction tape... ahaha, and it's suspicious that there was a white and it disappeared.
Aaaanyhow. I tried this over OPI's Skull and Glossbones, OPI's Who The Shrek Are You, and OPI's Sparrow Me The Drama, and China Glaze Snow. I liked it best over the white and grey, especially for fall.
Here's a few pictures of the bottle so you can see what it looks like and all the colors in there.
This is the full manicure with Wet 'n Wild Correction Tape over OPI Sparrow Me The Drama.
That's my little bf in the background ahah :)
This is definitely hard to capture because of the way the light hits the glitter, but the colors are very pretty. It's purple, blue, gold and black glitter, equal amounts, equal sizes. Very cute.
This is it over a few other colors, China Glaze Snow (white), OPI Skull & Glossbones (grey), and OPI Who The Shrek Are You (green).
As I said, I liked it the best over grey, it was a great background for the glitters.
What do you guys think? Did you get any of the Halloween collection?
Now there was some confusion over the name of this, but I have an inkling of what happened. The initial promo pictures had a white polish that weren't in the actual displays, and I have a feeling that Correction Tape was actually initially a white nail polish, and something happened with the naming or the polish. Because a multi-colored glitter has nothing to do with correction tape... ahaha, and it's suspicious that there was a white and it disappeared.
Aaaanyhow. I tried this over OPI's Skull and Glossbones, OPI's Who The Shrek Are You, and OPI's Sparrow Me The Drama, and China Glaze Snow. I liked it best over the white and grey, especially for fall.
Here's a few pictures of the bottle so you can see what it looks like and all the colors in there.
This is the full manicure with Wet 'n Wild Correction Tape over OPI Sparrow Me The Drama.
That's my little bf in the background ahah :)
This is definitely hard to capture because of the way the light hits the glitter, but the colors are very pretty. It's purple, blue, gold and black glitter, equal amounts, equal sizes. Very cute.
This is it over a few other colors, China Glaze Snow (white), OPI Skull & Glossbones (grey), and OPI Who The Shrek Are You (green).
As I said, I liked it the best over grey, it was a great background for the glitters.
What do you guys think? Did you get any of the Halloween collection?
Thursday, 22 September 2011
Wet 'n Wild Tangled In My Web
Hello! This is a black glitter for the On The Prowl Wet 'n Wild Halloween collection, Tangled In My Web.
I just bought a bottle of Who The Shrek Are You? from the OPI Shrek collection and it is a fantastic halloween color, so I decided to try it over that and over OPI Flit A Bit orange. If you guys want to see it over any other colors just ask and I'll try my best!
This is Wet 'n Wild Tangled In My Web over Who The Shrek Are You.
I gotta say I absolutely LOOOVE both of these. Who The Shrek is such a pretty green on my skin tone, and Tangled looks so cute over everything. I love black glitter!
This is Tangled over OPI Flit A Bit
Cute! Great halloween polish but really just a good all around polish!
I just bought a bottle of Who The Shrek Are You? from the OPI Shrek collection and it is a fantastic halloween color, so I decided to try it over that and over OPI Flit A Bit orange. If you guys want to see it over any other colors just ask and I'll try my best!
This is Wet 'n Wild Tangled In My Web over Who The Shrek Are You.
I gotta say I absolutely LOOOVE both of these. Who The Shrek is such a pretty green on my skin tone, and Tangled looks so cute over everything. I love black glitter!
This is Tangled over OPI Flit A Bit
Cute! Great halloween polish but really just a good all around polish!
Saturday, 17 September 2011
Wet n Wild On the Prowl Collection
Oh my goodness, this collection is awesome. I've only got 4 of the colors but I absolutely love them all. Today I'm going to show you swatches of Cougar Attack and Ready to Pounce. I did a huge chunk of swatching and nail art on friday so I've got lots to show you. I have Correction Tape and Tangled In My Web pictures coming up too - Tangled In My Web will be a big post! I'm planning on doing a halloween-themed nail art/stamping series because I love themed manicures and I like the look of them, so stay tuned!
So this is Cougar Attack, a gorgeous copper glitter. I love it, it is so beautiful and halloween-y. It glows like embers! I strongly recommend as many of this collection as you can get your hands on! I'm missing the red glitter one :(
I thought this might be a close match to China Glaze Fortune Teller, but it is much more coppery, and much denser, smaller, more noticeable glitter.
This next polish is Ready To Pounce, a purple with pink shimmer. It. Is. Beautiful. I wasn't going to buy it and I skipped it a few times, but after reading so many people rave about it I finally picked it up, and I'm so glad I did. It's unlike any purple I have. It's a deep deep plum color, but it glows with this beautiful gold-pink shimmer, and it is just stunning.
Now here I tried to experiment with tape manicures.. and it didn't turn out so well ahaha! Jane from Nailside makes it look so easy! I noticed that this color looks amazing with OPI's Sparrow Me the Drama pink, since it has the pink shimmer in it, so I tried to do a checkered manicure out of it. If you can experiment better than I can then definitely put those two colors together, they look great. The other square is China Glaze Harmony, a purple chrome.
Bahaha! Oh well, they can't always turn out great. Keep checking back here for the start of my Halloween nail art series! Have a good weekeeennnndd!
Subscribe to:
Posts (Atom)